Home Canning Guide: Learning The Basics

Want to know the basics about home canning? It’s a fantastic way to preserve your garden harvest so you can enjoy the fruits of your labor all year long.
In this article, we’ll cover the basic canning facts, then explore the differences between pressure and water bath canning. Finally, we highlight the safety concerns making sure your food stays fresh and how to prevent accidents.
My mom taught me how to can food when I was 11. We had moved to the country the year before, and this was our first garden; corn, tomatoes, squash, and gherkins were our main harvest.
It was the tomatoes and gherkins that we put up first, homemade salsa was a big favorite. In the years to follow, we added cucumbers, black-eyed peas, okra, apples, and peaches.
Mom’s main method of canning was the water bath because she was scared to death of pressure cookers, but the end results were the same, delicious, garden-fresh produce year-round and the pleasure of planting, growing, harvesting, and canning our own food.
Home canning was, and is, a great experience and a wonderful way to preserve meats, fruits, and vegetables. To this day, I will bulk buy at the farmer’s market and can for the winter so that I’ll have foods prepared with no chemicals or added salt.
With today’s emphasis on whole foods, organic farming, and foods that are free of additives, home canning is gaining popularity once again. Here are some of the basics of canning food at home.
Canning Basics: How it Works
All produce is rich in moisture and enzymes. As moisture evaporates out of the produce, it increases the concentration of enzymes that make the flesh rot.
In addition, bacteria, mold, and different kinds of yeasts will grow on the food, increasing the desiccation. This rot begins on the outside of most fruit and vegetables and takes place inside where there is insect damage or bruising.

By canning food, you remove oxygen and enzymes from the flesh of the fruit or vegetables. The canning process also stops the growth of any bacteria, mold, or yeast. By placing the food in canning jars and creating a tight seal, the liquid stays in the jar, and oxygen and microorganisms stay out.
Your canning will be more successful when you go into it prepared.
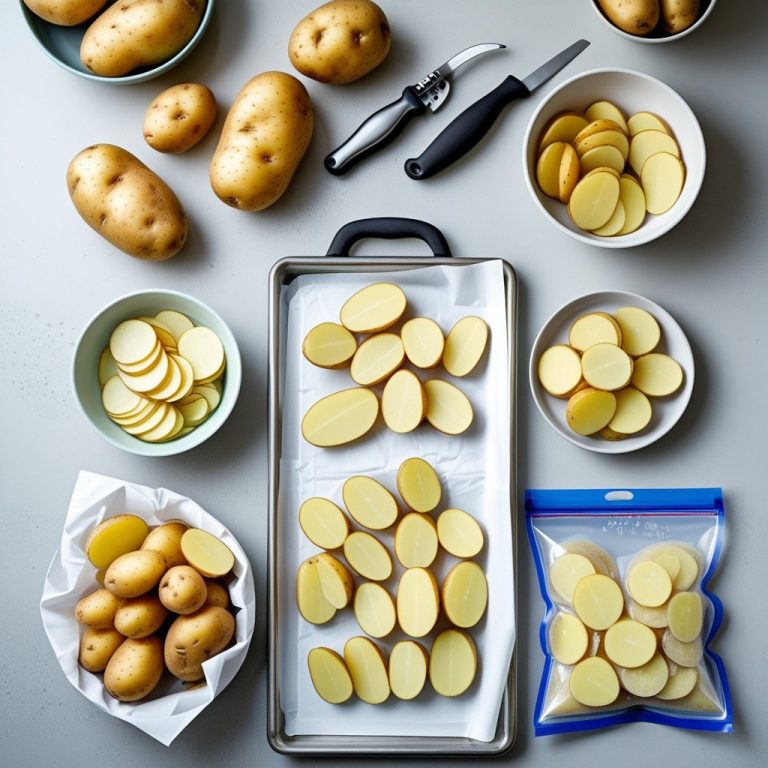
- You’ll choose the items you want to can and wash them.
- Some of them will need to be peeled, we’ll get to this later.
- Most of these foods will need to be hot packed, and some need to have acid added in the form of lemon juice or, perhaps vinegar.
- Finally, you will need canning jars with self-sealing lids, and the ability to set those jars in a water bath or pressure cooker.
Types of Canning: Pressure vs. Water
Water canning is also called a water bath. It is used the most often with fruits because fruits are high in acid and less likely to allow botulism to grow in the sealed jar. The equipment you’ll need is a large canning pot with a lid and a jar rack.
With the water method, you pack your fruit into sterilized jars, lay the seal on the opening, and screw on the lid, and place several jars on a rack. The rack has handles, so you lower it into a large pot full of hot water.
The water level should cover the entire jar by at least one inch, with another inch of space for the water to boil. Bring the water to a brisk boil for the designated period of time required for the items you are canning. Then, you’ll remove the rack from the water and allow the jars to cool.
Most cooks, 50 years ago, used their pressure cookers for canning, and the petcock would sometimes get clogged, causing an explosion. That happened to my mom, and she never used another pressure cooker.
However, pressure canning has come a long way in the last few decades. And there are some really great pressure canners that are designed to prevent the problems of the past. The improved design features include lighter-weight canners that are easier to manipulate and updated pressure release systems that are engineered to be much safer than their predecessors.
- A vented canner should have the vent left open until the water has reached a boil so that there is no excess air in the pot.
- A pressure canner with a weighted gauge will release excess air automatically. These, however, do not adjust to high altitudes as the vented ones do. You’ll need to read the instructions for your altitude carefully.
Another valuable tool, regardless of the canning method you use, is a jar lifter. This is, basically, a pair of tongs that will grip the neck of a single jar and allow you to move the jar to and from the water.
Safety Concerns When Home Canning
Both of the canning methods mentioned above have specific procedures that ensure the safety of the process and safe preservation of the food.
Different foods have different acid levels, which require different cooking times. Meat, vegetables, and fruits have different cooking times, as well.
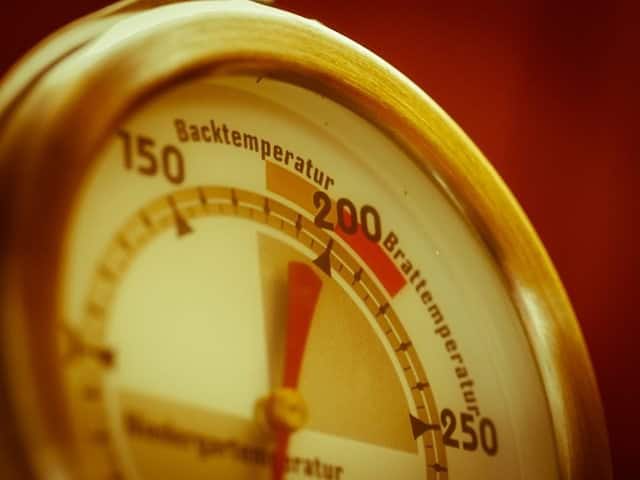
For example, some foods must be boiled for 20 minutes, while others must be boiled for an hour. If the temperature drops below a boil at any time, you have to start the boiling time over.
Follow directions for your particular canner and altitude. This will make the canning process safer.
How Long Does The Canned Food Last?
Most recommendations are to eat canned food within a year of canning to get the best flavor.
However, the food will actually keep longer, even if the flavor declines. Check for thickened syrup, extreme discoloration, or loss of liquid as indications that the batch has gone bad.